- Merchandise Shop
- Where to Buy
-

 English


 English
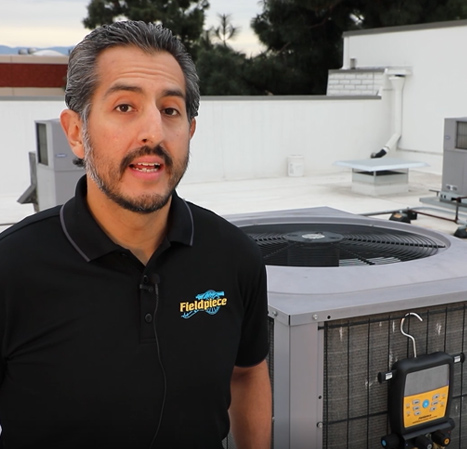
IT’S ALL ABOUT THE MICRONS.
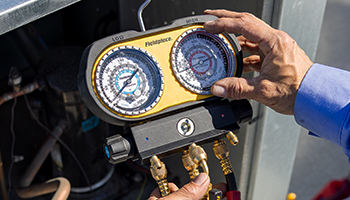
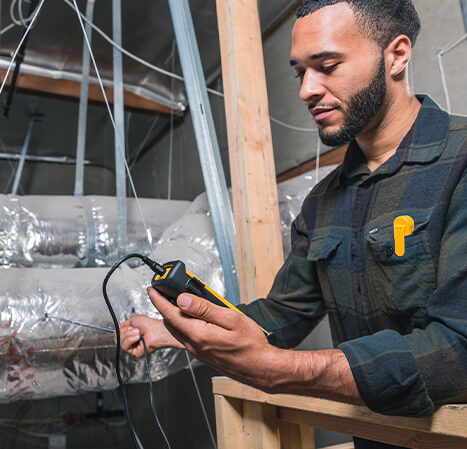
The vacuum gauge is a vital instrument for any HVACR technician. It helps you read the difference between the atmospheric pressure on the outside and inside of the air conditioning unit. This allows you to diagnose issues with the pressure inside the unit. This is usually the first step to a service you may provide. Here at Fieldpiece, we want to help prepare any HVACR technician for their jobs. If you have more questions about what a vacuum gauge does and how to read one, continue reading to learn more about it. If you have any other questions, be sure to give us a call.
Why we pull vacuums.
If you’re installing a new HVACR system or making repairs, it’s important to remove all moisture and non-condensable gasses before adding any refrigerant. Moisture in the system can turn to acid and freeze, and other non-condensables like nitrogen, air, water or other refrigerants can change the pressure readings in the system. Removing all of these can directly increase the expected life and efficiency of the system. It’s as simple as that.
Why 500 microns?
It takes a deep vacuum of 500 microns or lower to boil off and remove all moisture and non-condensable gasses from a system. Even though microns are small, there’s a massive difference between 500 microns and 1,000 microns. At 1,000 microns, water boils at 1 degree F. While at 500 microns, water boils at -12 degrees F. To make sure the system is ready for refrigerant, you need to make sure the vacuum you pull is deep enough to remove all moisture and non-condensable gasses.
While 500 microns is a popular rule of thumb, each system manufacturer has their recommended pressure for a vacuum and you should definitely check the manual before pulling one.
Small but mighty.
Since a micron is so small, fluctuations in the readings on vacuum gauges are common. We’re measuring differences that are so tiny, that even bumping a gauge or jostling a fitting can cause them to fluctuate. This article should help you better understand the readings on your vacuum gauges and what fluctuations can mean.
PROPER SET UP 101
Choosing the right tools for the job.
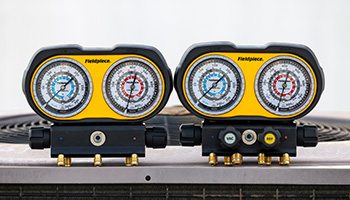
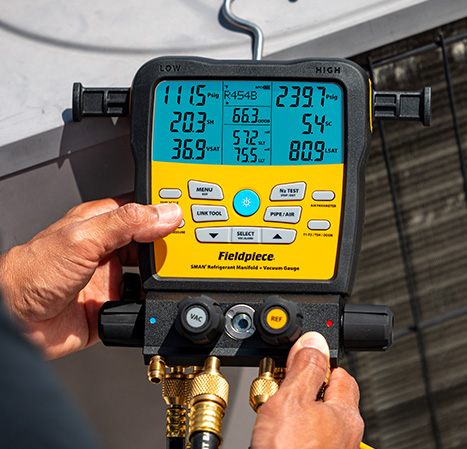
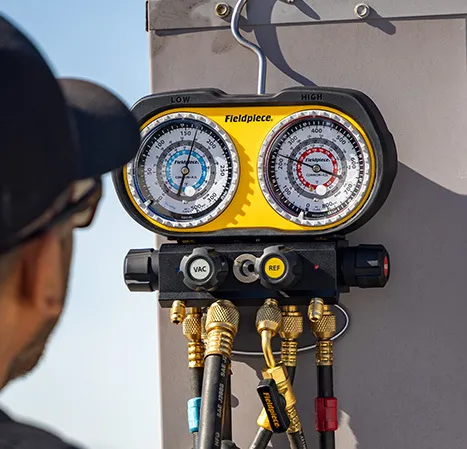
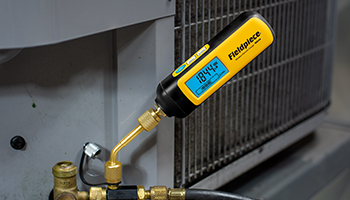
A vacuum gauge is the best tool to measure deep vacuum and “see” what’s going on with the system. Slow micron rise indicates moisture still burning off while a faster micron rise indicates a system leak. Digital manifolds may have a built-in, accurate vacuum gauge for convenience but leaky hoses/connections and distance from the system affect readings.
Far, far away.
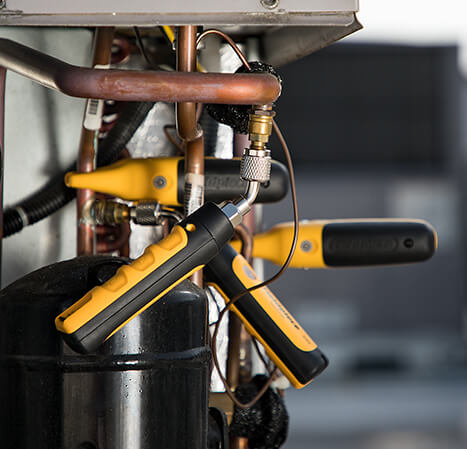
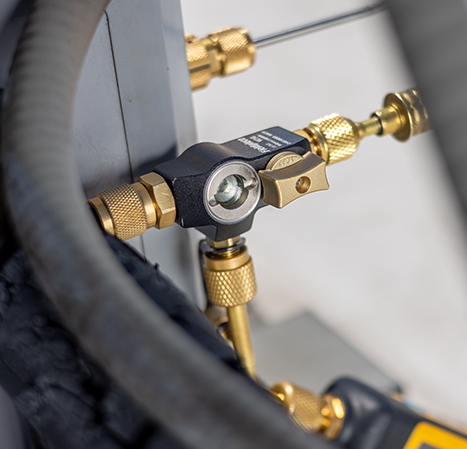
Place the vacuum gauge where you want the 500 microns to be – on the system! Definitely don’t put it right next to the pump which is producing 20 microns of ultimate vacuum in order to pull the system down to 500 microns quicker. Similarly, you don’t want to install a thermostat right above a register. Best practice is to place the vacuum gauge as far back on the system as you can, as this is the last place to reach 500 microns due to system components and line set bends that create restrictions.
Clear those restrictions.
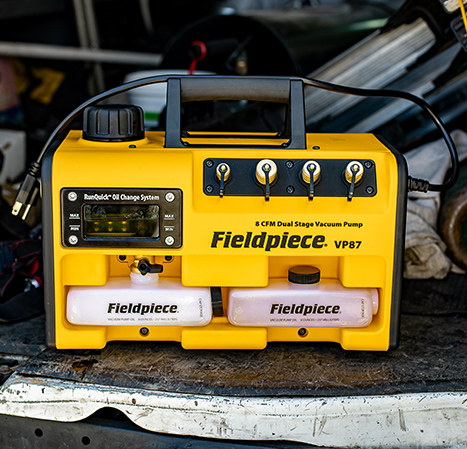
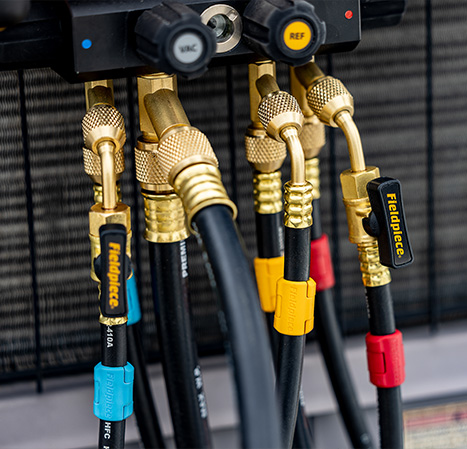
If you want your vacuum pump to quickly and easily pull your system into a deep vacuum, you need to eliminate any flow restrictions in the system that may slow it down. Sometimes, it might be easier to use a pair of charging hoses to hook up the pump, but vacuum-rated hoses have a larger diameter and that extra room facilitates more flow to pull a vacuum. Also, remove the valve cores from the service ports on the system. Each of these create a restriction that makes your evacuation take significantly longer. To pull the fastest vacuum, you want to have the shortest hose length and the biggest hose diameter.
UNDERSTANDING YOUR READINGS
Fluctuations are normal.
Every time you pull a vacuum, it takes the system a while to equalize to a stable pressure. Your values can and will fluctuate throughout the process – sometimes, these changes can be surprising and make you think you have a leak. However, these varying values are to be expected. After you pull down to 500 microns, wait five minutes to give your system some time to reach an equilibrium. The levels will most likely continue to fluctuate even after you pull the vacuum. This could be due to a host of factors.
Blame the ball-valve.
First, the hose ball-valve that you use to attach your vacuum pump often holds a small amount of gas inside the valve itself. Since vacuum gauges measure tiny amounts of micron change, this small amount of gas in the valve could cause your readings to spike as soon as you close the valve. If you see a slight spike in the pressure when you turn this valve and then the pressure comes back down quickly, it’s normal and not something to be concerned about. To prevent this, periodically open and close the ball valve during evacuation.
Did someone out-gas?
A second reason for the fluctuations could be outgassing. Every hose and O-ring in the system could adjust slightly when you’re pulling a vacuum, and this slight movement could release a bit of gas. Much like the ball-valve that we mentioned above, some gas could be trapped in valves or fittings, and only under a nearly total vacuum will they release this gas. This could cause the readings to fluctuate slightly. Again, this is normal.
Bubbles in your sight glass?
Sometimes, when you’re pulling a vacuum using the Wireless 3-Port or 4-Port SMAN Refrigerant Manifold and Micron Gauge you’ll notice bubbles appearing in the sight glass of the manifold. This could be due to many things and it doesn’t necessarily mean you have a leak. Bubbles can be from the moisture in the system that’s being evaporated. Give it a second and see if the bubbles dissipate. If you’re continuing to pull a vacuum and the bubbles remain, it could mean that you have some leftover oil with moisture in the manifold block. A quick fix is to use rubbing alcohol or RX11 flush to clear the manifold of refrigerant or other contaminants that could be causing the bubbles.
What if there’s too much moisture?
If you’re trying to pull a vacuum and it’s taking much longer than it should, this could be caused by excess contaminants or moisture still in the system that need to be flushed out. The vacuum pump can only do so much. A good way to make sure that your system is clear of excess moisture is to perform a triple evacuation. This involves pulling the vacuum down anywhere between 1,000 to 2,000 microns, then flushing nitrogen into the system to a pressure of 3-5 PSIG for about five minutes, before pulling the vacuum down to 500 microns again. The process should be repeated a third time by pulling a vacuum down to 300 microns, before repeating the nitrogen flushing process; and finally, performing a standing vacuum test for ten minutes with the pump isolated.
Is it a leak?
After you’ve pulled your system to 500 microns, it’s time to close the valves, isolate the system and turn off the pump. This helps you see if the vacuum you pulled is deep enough and if the system holds pressure. As the system equalizes, you’re going to notice slight fluctuations in the microns. How can you tell the difference between the slight adjustments in pressure due to outgassing or other normal fluctuations and those that are actually caused by a leak?
After you isolate the pump, if the micron value increases quickly and never stops until it reaches atmospheric pressure you probably have a leak.
If the pressure slowly increases over time, and eventually levels off higher than 1000 microns. This tells you that you still have some moisture in the system, and you need to turn the pump on again and pull a deeper vacuum.
Therefore, it is imperative to connect your vacuum gauge directly onto the system and isolate at the system. Doing so ensures the reading of the vacuum gauge is not influenced by any potential leaks in hoses or connections in your vacuum set up.