- Merchandise Shop
- Where to Buy
-

 English


 English
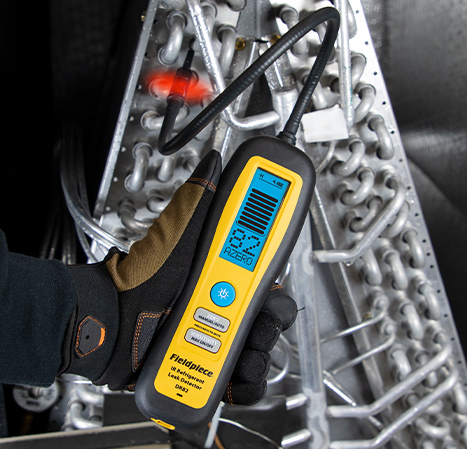
If it seems like your leak detector is no longer picking up leaks or is not as sensitive as it was when you first bought it, try replacing the filter. This should fix the issue. If this does not fix the issue try replacing the sensor
Yes, hook up the probes you will be using and push the blue serial number next to the probe you would like to switch and select the probe you would like to see.
There are three possibilities.
The probes update at a rapid speed between opening/closing , it uses an extreme value to deter the possibility of catching a miscalculation. It should go back to its actual temperature within seconds
The pipe that the clamp is on may to need to be cleaned. Remove the clamp and use the Emory cloth provided to clean the pipe and put clamp back on.
350 FT line of sight
Yes, hook up the probes you will be using and push the blue serial number next to the probe you would like to switch and select the probe you would like to see.
There are three possibilities.
350 FT line of sight
350 FT line of sight
1000 FT line of sight
Microns being inaccurate is a sign of oil holding moisture either inside the block of the manifold, In the hoses or the oil in your vacuum pump needs to be changed. Clean sensor periodically with rubbing alcohol.
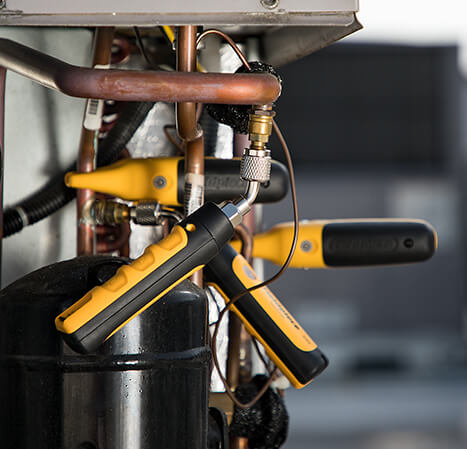
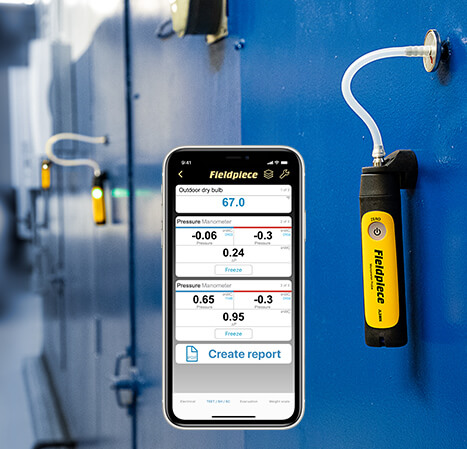
If using the Job Link mobile app as a display, add the MG44 to the tool manager in the app.
Connect to the system. Techs typically prefer connecting to the Schrader Core Removal Tool (SCRT) or an unused service port
Clean the sensor of the MG44 with rubbing alcohol. Do not stick anything into the sensor. Doing so will damage the sensor Check manual for details
Evacuation takes time. You are pulling a vacuum in a larger volume (ac unit + vacuum pump) compared to just a vacuum pump. Check that there are no leaks in your hoses, change the oil of the vacuum pump, and perform a triple evac if there is an indication of a lot of moisture in the system. Change the oil in the vacuum pump
Connect MG44 to empty recovery tank and pull down to 500 microns and isolate the pump from recovery tank and microns should rise slowly not immediately /fast rise.
The moisture inside the system is still boiling off and is no longer being taken out or compensated for by the vacuum pump. The system will have to come to an equilibrium/ stabilizing.
The MG44 has a measuring range between 50-25,000 microns. Anything outside of that range will show the 4 dashes – – – -. The bar graph will show a wider range from deep vacuum up to atmosphere.
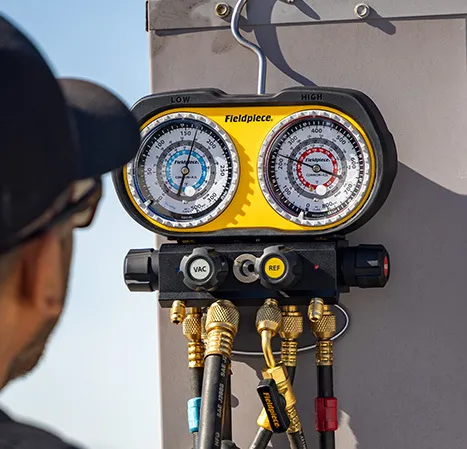
The High cut out is set to approx. 550 PSI
Yes, there is a fuse located at the bottom of the MR45 inside the bottom PCB board. We have teardown instructions to help break the MR45 down to get to the fuse.
No, the MR45 is not UL certified for A3 refrigerants, therefore it cannot be used with any combustible refrigerants.
Use a filter drier on the input port and change it often to protect machine from contaminated refrigerants.
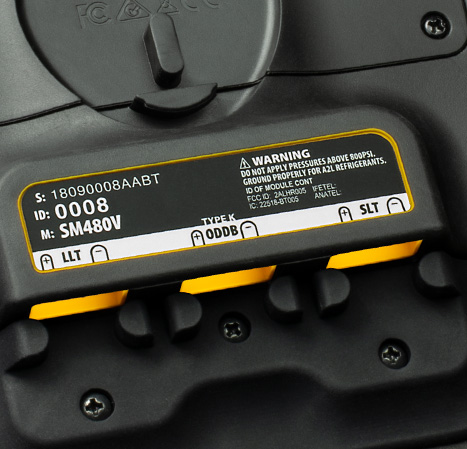
Yes, the MR45 comes with a one year warranty from date of purchase. If date of purchase is unavailable, serial number will be used. Serial number is located on the bottom plate of MR45.
Yes, TBD
Pressure sensor either unplugged or no longer working
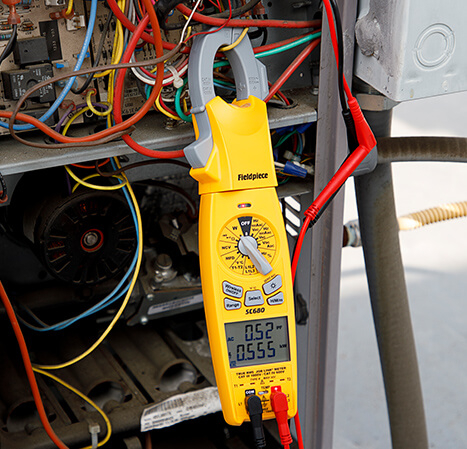
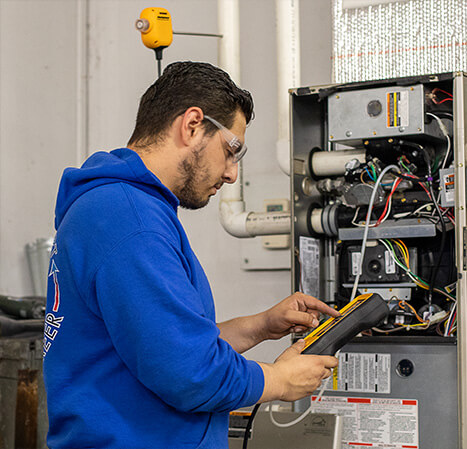
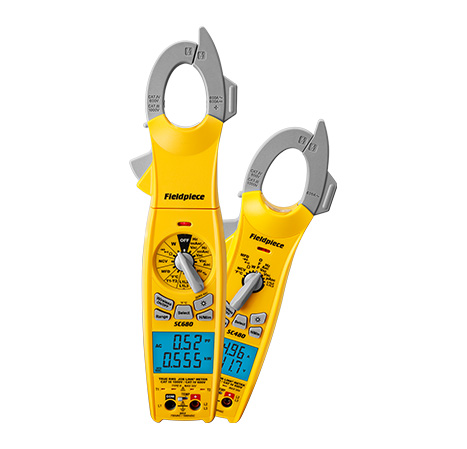
Use NCV to check for 24VAC from a thermostat or live voltage up to 600VAC. Always test on a known live source before using. A three segment graph and RED LED will display the presence of voltage. The audible beep increases from intermittent to continuous as intensity of field (EF) increases.
No, the min/max button is not the same as inrush as it does not capture readings fast enough.
If dISC is displayed, the capacitor is not discharged completely.
No, the new meters do not use a fuse anymore. They use a PTC as it is faster and safer for the technician.
Use NCV to check for 24VAC from a thermostat or live voltage up to 600VAC. Always test on a known live source before using. A three segment graph and RED LED will display the presence of voltage. The audible beep increases from intermittent to continuous as intensity of field (EF) increases.
If dISC is displayed, the capacitor is not discharged completely.
No, the new meters do not use a fuse anymore. They use a PTC as it is faster and safer for the technician.
The pump in the SDMN6 is very sensitive and the increase button or decrease button needs to be pressed multiple times before you will see a change in the pump.
Take out the battery hold the power button for 45 seconds and reinstall battery. If this does not work the first time try again. If it sill won’t turn on check to see if you have a good battery or call fieldpiece for an RMA
– Advanced Calibration
Both pressure sensors should read “GOOD”
When charging a system, recovering or discharging your hoses, ESD (electrostatic discharge) is created and can give out enough electricity to shock you. Proper grounding will avoid this issue
All of our products have a 1 year warranty from date of purchase.
The weird looking numbers stand for “no signal” (NSG)
Your manifold does not have a wireless device synced transmitting your wetbulb temp.
Manifold needs to finish searching and needs to be reset by pushing the sync button and waiting for the manifold the manifold to no longer searching for a signal.
Using an Ice bath approximately 70% ice 30% water, place the pipe clamp in the ice water and stir for approx. 15-20 seconds. Below the SLT and LLT port there is a black screw that can be turned clockwise to bring the temp up and counterclockwise to bring the temp down.
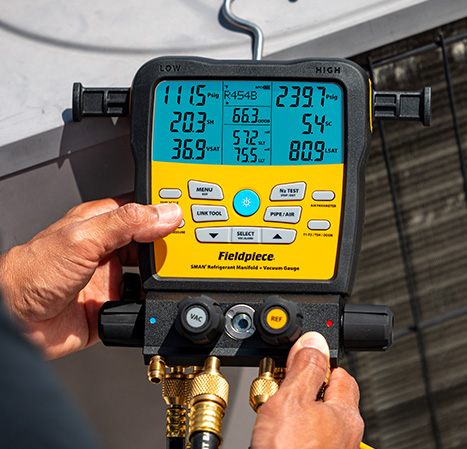
Cleaning the Micron Sensor Over time, the vacuum sensor of the SMAN may become contaminated with dirt, oil, and other contaminants from pulling vacuums.
You may have a negative degree of superheat or subcooling
Subcooling is not working-
1)Plug in thermocouple into LLT port and change refrigerant to R113 to check to see if the manifold calculates subcooling.
Superheat is not working-
1)Plug in thermocouple into LLT port and change refrigerant to R407F to check to see if the manifold calculates superheat.
Push target superheat on manifold. Select IDWB or ODDB using the up and down arrows. Hold enter until digit flashes, use up and down arrow to select number, push enter to go to next digit.
Push target superheat on manifold then push enter if manifold is searching for signal. Use the up and down arrow to select either IDWB or ODDB, Push and hold sync on manifold till a beep is heard. On SDP2 push sync.
SDP2 only send IDWB not ODDB
You have isolated the micron gauge from the system, you are now only reading what is inside your manifold and hose to vacuum pump
Microns being inaccurate is a sign of oil holding moisture either inside the block of the manifold, In the hoses or the oil in your vacuum pump needs to be changed.
Clean sensor periodically with rubbing alcohol
The moisture inside the system is still boiling off and is no longer being taken out or compensated for by the vacuum pump
There could be oil that is holding moisture inside either the hose leading to the manifold or inside the block of the manifold
– Advanced Calibration
Both pressure sensors should read “GOOD”
When charging a system, recovering or discharging your hoses, ESD (electrostatic discharge) is created and can give out enough electricity to shock you. Proper grounding will avoid this issue
All of our products have a 1 year warranty from date of purchase.
The weird looking numbers stand for “no signal” (NSG)
Your manifold does not have a wireless device synced transmitting your wetbulb temp.
Manifold needs to finish searching and needs to be reset by pushing the sync button and waiting for the manifold the manifold to no longer searching for a signal.
Using an Ice bath approximately 70% ice 30% water, place the pipe clamp in the ice water and stir for approx. 15-20 seconds. Below the SLT and LLT port there is a black screw that can be turned clockwise to bring the temp up and counterclockwise to bring the temp down.
Cleaning the Micron Sensor Over time, the vacuum sensor of the SMAN may become contaminated with dirt, oil, and other contaminants from pulling vacuums.
You may have a negative degree of superheat or subcooling
Subcooling is not working-
1)Plug in thermocouple into LLT port and change refrigerant to R113 to check to see if the manifold calculates subcooling.
Superheat is not working-
1)Plug in thermocouple into LLT port and change refrigerant to R407F to check to see if the manifold calculates superheat.
Push target superheat on manifold. Select IDWB or ODDB using the up and down arrows. Hold enter until digit flashes, use up and down arrow to select number, push enter to go to next digit.
Push target superheat on manifold then push enter if manifold is searching for signal. Use the up and down arrow to select either IDWB or ODDB, Push and hold sync on manifold till a beep is heard. On SDP2 push sync.
SDP2 only send IDWB not ODDB
You have isolated the micron gauge from the system, you are now only reading what is inside your manifold and hose to vacuum pump
Microns being inaccurate is a sign of oil holding moisture either inside the block of the manifold, In the hoses or the oil in your vacuum pump needs to be changed.
Clean sensor periodically with rubbing alcohol
The moisture inside the system is still boiling off and is no longer being taken out or compensated for by the vacuum pump
There could be oil that is holding moisture inside either the hose leading to the manifold or inside the block of the manifold
If it seems like your leak detector is no longer picking up leaks or is not as sensitive as it was when you first bought it, try replacing the filter. This should fix the issue.
The SRL2 does not have a sensor that can be replaced.
The TURBO function is an additional 4th sensitivity that pushes the SRL2 to it highest possible sensitivity. This feature is activated by pressing the PEAK button four times in succession, and can only be activated while on the high(H) sensitivity level
Set the sensitivity level by pressing the L/M/H button. Low (L), medium (M), or high (H) sensitivity will be indicated by the respective LEDs. The higher the concentration of refrigerant in the ambient air, the lower the sensitivity setting should be to minimize false trips.
NO, it is not UL certified for A3 refrigerants.
To install or replace the sensor, make sure the unit is turned off. Then, unscrew the snoot on the SRL8 and if replacing gently pull the sensor from the base.
If it seems like your leak detector is no longer picking up leaks or is not as sensitive as it was when you first bought it, try replacing the filter. This should fix the issue. If this does not fix the issue try replacing the sensor
If no sensor is installed or the installed sensor is broken when the unit is turned on an alarm will sound and the unit will turn off.
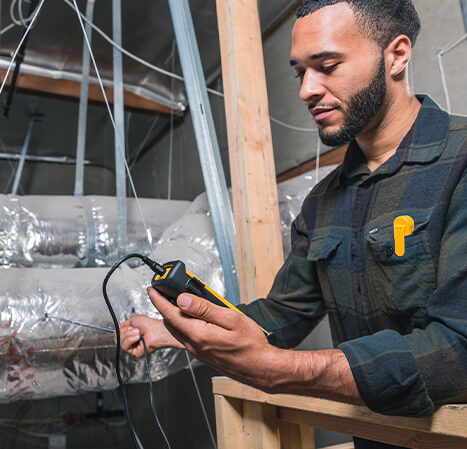
If using the Job Link mobile app as a display, add the SRS3 platform to the tool manager in the app
The included remote display is setup to view the platform at the factory. You shouldn’t ever need to re-sync them. You can sync two SRS3 remote displays to a single SRS3 platform if desired.
Yes, the part number is the SRS3R. You can also sync to job link and use a mobile device as your display.
Connect to system. Techs typically prefer connecting to the Schrader Core Removal Tool (SCRT) or an unused service port
The serial number is located on the back of the SVG3 under the strap.
Clean the sensor of the SVG3 with rubbing alcohol
Connect SVG3 to empty recovery pump and pull down to 500 microns and isolate the pump from recovery tank and microns should rise slowly not immediately /fast rise
The moisture inside the system is still boiling off and is no longer being taken out or compensated for by the vacuum pump
System will have to come to an equilibrium/ stabilizing
The micron gauges will not show any value higher than 9999 microns.
Quick check- connect SVG3 to vacuum pump directly using a ball valve- ball valve is used in case oil gets back from pump and contaminate sensor
Perform this test to ensure VP55/VP85 and your micron gauge are working properly.
If your gauge measures below 200 microns within 1 minute, you know VP55/VP85 and your micron gauge are working correctly. If your gauge does not reach 200 microns, there is a problem with your gauge, VP55/VP85, or both.
Yes, but we do not advise using the pump if more than 15 PSI of pressure is present at pump.
When ports are facing you, from left to right are ¼”, ½”, 3/8”, 3/8“
A common complaint we hear about oil sealed rotary vane pumps is that they create a lot of “smoke” from the exhaust. What is commonly reported as “smoke” is often actually oil mist vapor It is mechanical pump oil vapor.
The oil in your rotary vane pump both lubricates the moving parts and seals the fine clearances in the pump. Oil has the benefit of stopping air leakages inside of the pump, however the rigorous oil flow during operation creates an oil mist on the exhaust side of the pump.
It is normal for the pump to emit vapor when pumping on a chamber from atmosphere. Since all the air that is removed from the chamber by the pump moves through the oil in the oil resevoir, some of that oil is vaporized when a lot of air is moving through it. When the pressure in the chamber is reduced to a few hundred torr, the oil vapor or “mist” should reduce dramatically
Much of the air and moisture in a system are removed before reaching 3000 microns. For wet systems, you should open the gas ballast during this initial pull down. Doing so helps the pump run smoothly and keeps the oil in good condition for when you need it most – towards the end of the evacuation. At about 3000 microns, when the sound of the pump quiets down, the gas ballast should be closed so that a deep vacuum can be achieved.
Fieldpiece oil is optimized for its pump – has a specific viscosity for maximum performance, you can use others but not recommended
Excessive moisture is present in the oil indicating that the oil needs to be replaced
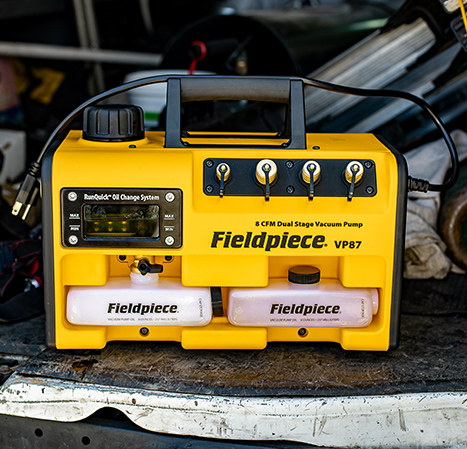
VP85 Additional Features – Smart variable speed DC motor – Protects against voltage drop (runs as low as 95 VAC) – Cold weather start up – Storage for reserve 8 oz oil container
Yes, TBD
Empty or replace oil at the end of every job. Don’t leave old oil in the machine. Store the pump and oil in dry clean areas for longest life. Oil can lose its sealing properties if left uncovered. Keep oil sealed until it’s ready for use.


© 2026 Fieldpiece Instruments, Inc. All rights reserved.