Categories
Blog

The Tell-tale Signs of Refrigerant Leaks and the Tools to Find Them

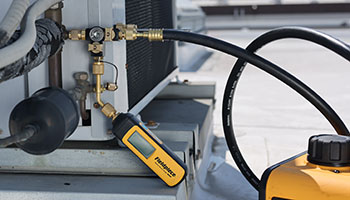
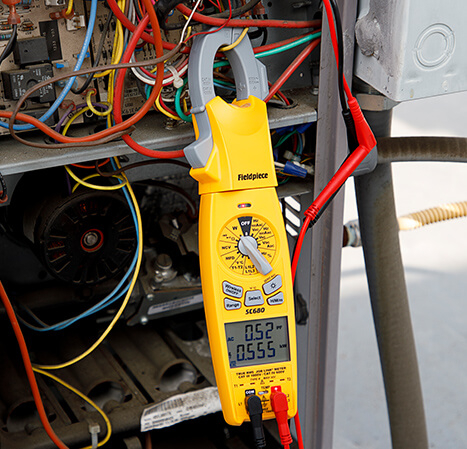
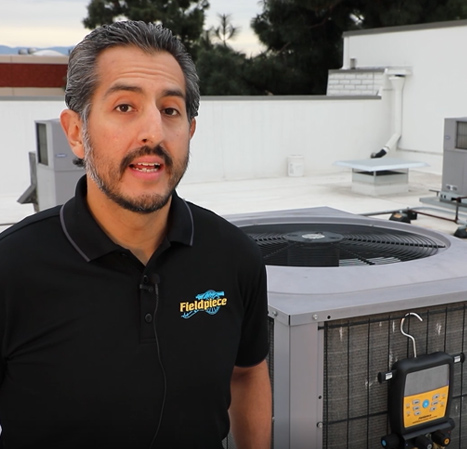
Refrigerant is the lifeblood of a cooling system and any leaks in the closed loop refrigeration cycle will compromise system performance. It’s critical to find leaks fast to maximize heat absorption and release as refrigerant circulates within the system. Eliminating leaks also minimizes the impact that released refrigerants may have on the environment.


Know your Refrigerant

As the industry transitions away from HFC refrigerants such as R410a, it’s important to be able to properly identify and handle them, as well as detect leaks as early as possible. This becomes increasingly important as these refrigerants are phased out, as proactively finding and addressing their leaks is critical to extending the life of older HVAC systems.


Signs of a Leak

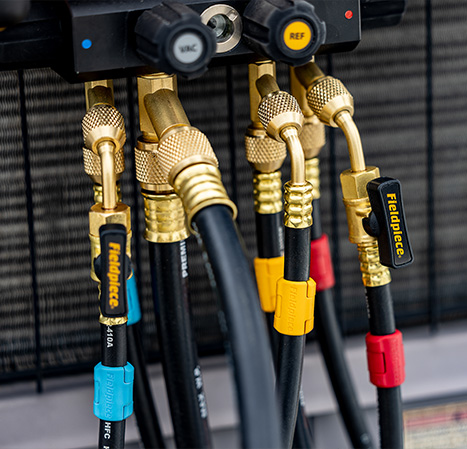
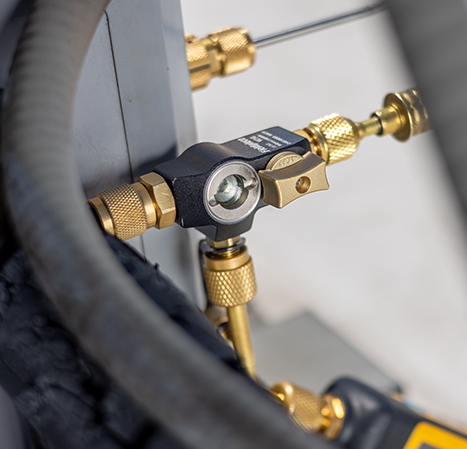
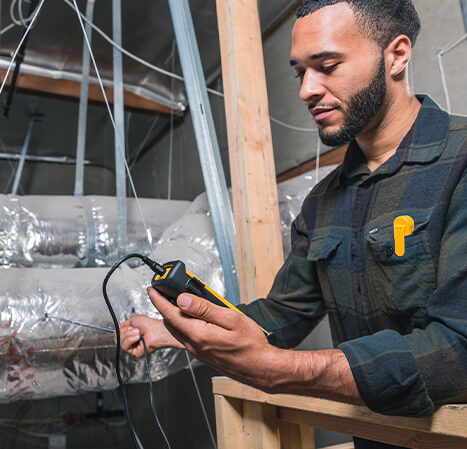
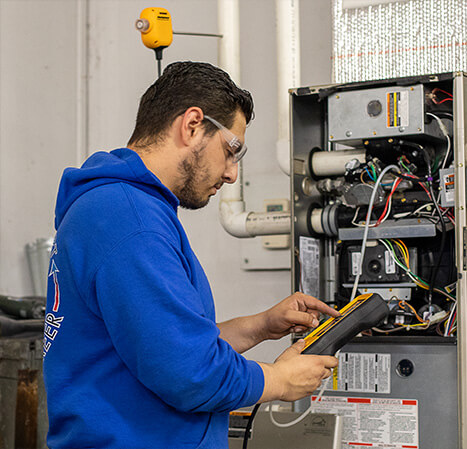
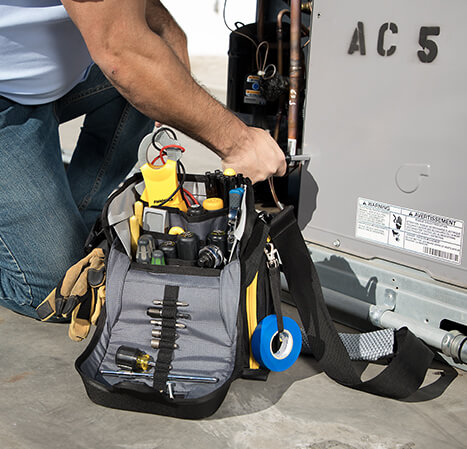
When working on a system, there are a few obvious signs that it may have a leak. Signs could range from frozen coils and hissing sounds to the system not reaching the set temperature and running constantly. Refrigerant is heavier than air and will condense and settle near the base of a confined area, so begin your search low and trace line sets and possible leak points moving upwards. Common leak points can be found at elbow joints or any brazed or press-fit connections. Also check for coil corrosion, visible cracks or holes, or signs of oil on the ground around the condenser or on the line set itself.


Two Versatile, Powerful Detectors

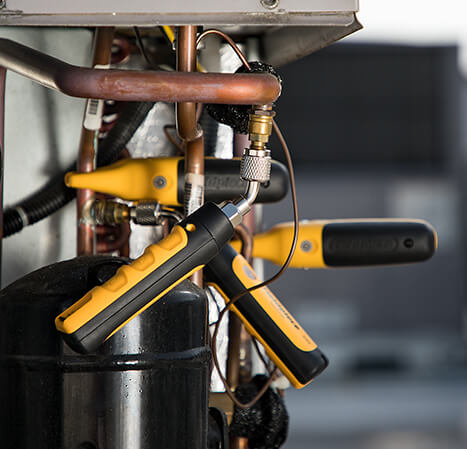
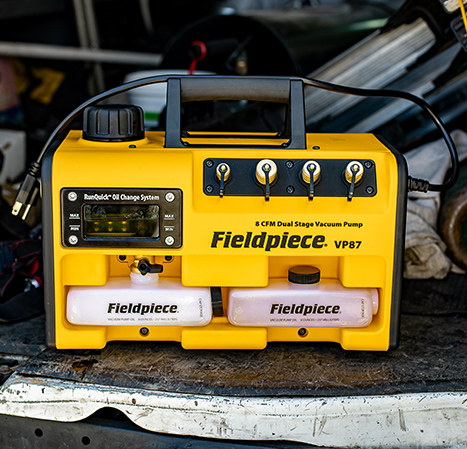
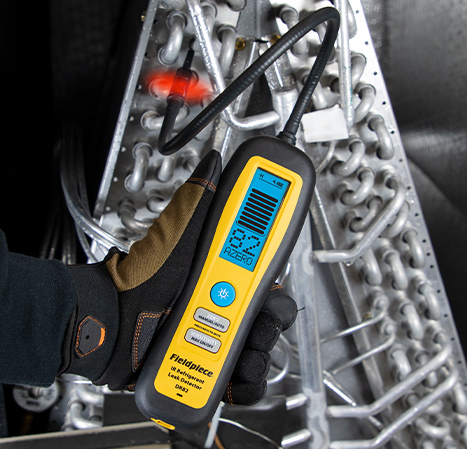
Fieldpiece offers two versatile, easy-to-use refrigerant leak detectors that find leaks as small as 0.03 oz/yr. The Fieldpiece DR58 Heated Diode Refrigerant Leak Detector detects all HFC, CFC, HCFC, HFO and blended refrigerants and offers superior sensitivity to R410A refrigerant. The Fieldpiece DR82 Infrared Refrigerant Leak Detector is also effective at finding all HFC, CFC, HCFC, HFO and blends, and it features a sensor life up to 10 years.


They both offer bright backlit LCD screens and feature four leak indicators including a flashing lighted tip, loud beeper, bar graph and numerical value. Plus, they’re designed to withstand all weather conditions and quickly recharge with any USB outlet.


Catch Leaks Early

When maintaining a system, finding leaks early is important, as it helps extend the life of the system and keep it running more efficiently and effectively. To ensure that leaks are found early, make sure the Fieldpiece DR58 – Heated Diode Refrigerant Leak Detector or the Fieldpiece DR82 Infrared Refrigerant Leak Detector are in your bag. You’ll have a powerful, tough, and sensitive ally on the jobsite.

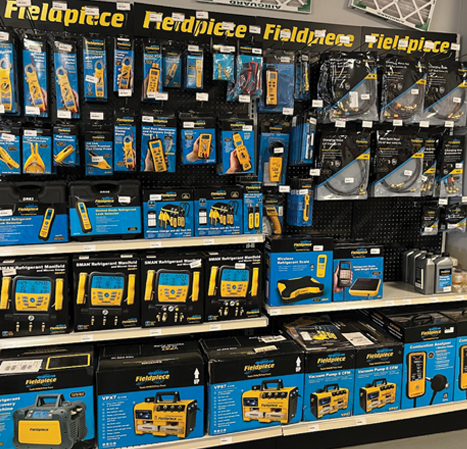
Learn more about our leak detectors and all Fieldpiece products at www.fieldpiece.com

Categories
Blog

Unlocking Efficiency: Reasons to use a Valve Core Removal Tool

Refrigerant recovery, system evacuation, and charging are the “bread and butter” processes that HVACR techs routinely tackle. Removing one of the smallest components of a system, the valve core, significantly increases the speed and efficiency of these tasks. Valve cores can block up to 90% of the flow, therefore removing it to increase the flow rate makes a valve core removal tool an important part of any HVACR tech’s toolkit.

Why Pull a Valve Core

The initial, primary purpose of a valve core removal tool (VCRT) was to replace a damaged core on a charged system without losing the refrigerant charge. By replacing the damaged valve core without having to pump down the system, you save significant time on the job.

The time saving advantages discovered in using a VCRT to replace a damaged valve core led to the best practice of removing the valve core to recover, evacuate and charge systems faster.

Removing a Valve Core on a Charged System

One of the first steps before installing a VCRT is to understand the open and close positions of the ball valve to prevent accidental refrigerant loss. When installing a VCRT on a charged system, it’s important to hand tighten the tool at the service port to prevent leaks, but not overtighten. Overtightening creates more stress on the gasket causing it to wear out faster and potentially leak.

With the VCRT installed and the integral ball valve open, slide the capture rod towards the service port valve core and slowly turn the rod tip to align on either side of the valve core. You will feel the capture tip slot into place. To firmly secure the core into the tool, slightly press the cap to ensure the core is press-fit into the capture tip. Turn the VCRT cap counterclockwise approximately five full turns to unthread the valve core and slide the capture rod back out. You can now close the ball valve, isolating the charged system, and remove the capture rod assembly with the secured valve core.

Some VCRTs, like the Fieldpiece VC1G and VC2G, have an integrated sight glass that allows you to visually confirm that the valve core has been captured before removing the capture rod from the tool. Verifying the core is captured eliminates the “Did I get it?” game saving even more time. Additionally, you can check that refrigerant is flowing through the sight glass. Once the valve core is removed, your hose can now be attached to the VCRT to begin the recovery process.

Removing the Valve Core for System Evacuation

Once you have repaired the system, performed a nitrogen pressure test and are ready to evacuate the system, you can install your micron gauge on the VCRT side port. Note that the most accurate vacuum measurement is taken at the system service port location. A VCRT with two ball valves, like the Fieldpiece VC2G, allows you to directly connect, isolate and protect your micron gauge during refrigerant recovery and charging without additional fittings. With the system at atmospheric pressure, you can now swap your recovery hose with a larger diameter vacuum hose to further speed up the evacuation process. A tip while evacuating is to open and close the VCRT ball valve to remove any trapped air in the ball valve.

Another important tip is to not insert or remove a valve core under a vacuum. This will introduce air back into the system that you just evacuated. The system should be slightly pressurized prior to inserting the core. Simply reverse the removal process to install the valve core back into the service port. Note that the best practice is to install a new valve core every time you remove one.

Removing the valve core is a common and important step for faster recovery, evacuation, and charging. Make your job even easier by picking up a Fieldpiece valve core removal tool that eliminates the guesswork and helps you work smarter.