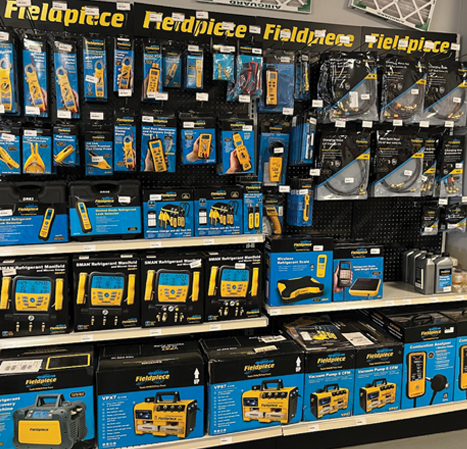
- Merchandise Shop
- Where to Buy
-

 English


 English
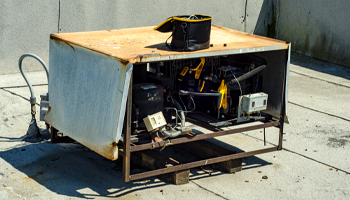
If you’re installing a walk-in cooler or freezer, it’s critical to make sure the condenser unit and evaporator coil are installed in the correct location. Choose the wrong spot and your customer could be looking at a difficult and expensive installation as well as performance issues from the entire system. No one wants those.
To avoid problems during and after the installation, discuss with your customer the ideal location for the condenser and evaporator coil. If it’s installed indoors, the condenser could take up valuable retail space. And if it’s outdoors, the ideal location for the unit could be inconvenient for maintenance or simply unpleasant to the eye. Choose a location that allows the customer to take best advantage of their space while not interfering with day-to-day operations.
If an indoor location is chosen for the condenser unit, keep ventilation and airflow in mind. It’s critical for operation. Plus, energy savings requirements have changed evaporator design. Newer evaporator motors ramp up and down, and this could create warm spots in walk-ins; also recent manufacturing requirements have changed as they relate to the distance from the back evaporator to the wall. Airflow requirements vary, so check with the manufacturer of your specific model. Most low-temperature units need around 200 CMF per 1,000 Btu/hr. A medium-temperature unit will call for 165 CFM per 1,000 Btu/hr. That means you’ll need a space that offers ample airflow — especially for a larger, more powerful unit. Indoors, the condenser can also generate heat. The presence of this extra hot air will need to factor into your decision-making process.
If installing outdoors, adequate ventilation shouldn’t be a problem. However, if you’re in a climate that often has very low temperatures, the condensing unit may need additional components such as a cycling control or a head pressure controller. These will help keep the high-side pressure above the minimum values when it’s cold out. Also, you can set up the system to use a pump-down method to control condensing unit operations and then add a crankcase heater, so refrigerant doesn’t migrate when it cycles off. Finally, your outdoor unit should be covered to protect it from the elements. You should check with the manufacturer to determine the best way to cover it.
As we all know, condenser units don’t work forever, so no matter if you install it indoors or outdoors, keep in mind that a tech will need to access it for service and routine maintenance. Make sure all parts of it are easy to access — after all, you may find yourself being the one performing the service on the unit.
Inside the walk-in, the location of the evaporator coil has a direct effect on its ability to keep the whole space at a consistent temperature. It’s critical to understand the total distance the evaporator needs to cover. This directly affects its performance. Check with the manufacturer of the evaporator for specific instructions, but don’t overlook the fact that the air pattern must envelop the entire room. Don’t install the coil where product could be stacked against it and block airflow. Make sure there’s enough space for storage and for normal business operations. It shouldn’t be in the way. Also, don’t install the unit over a door because it could draw in warm, humid air each time the door is opened—potentially leading to frost build-up.
Choosing the right location for all of the critical components of a walk-in cooler can help it run more efficiently. It can also make it easier to service or repair. Make sure to keep all of these things in mind for your next project to improve your HVACR technician skills.