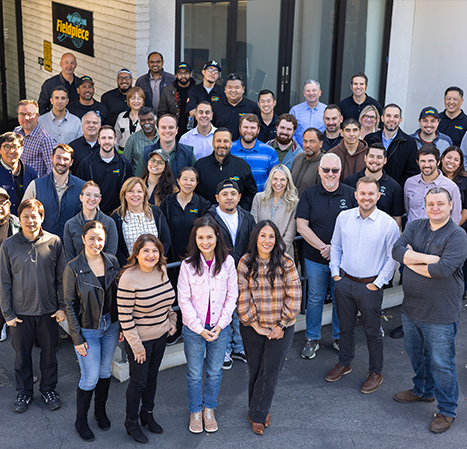
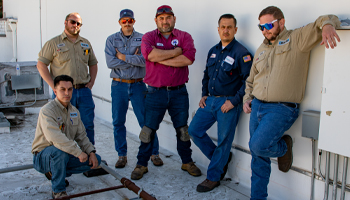
It’s November, the month in which we all give thanks. In our industry, that means being thankful for HVACR technicians that work tirelessly to make A/C systems, furnaces, and refrigeration systems run smoothly. You keep businesses running, restaurants humming, and homes everywhere comfortable for customers.
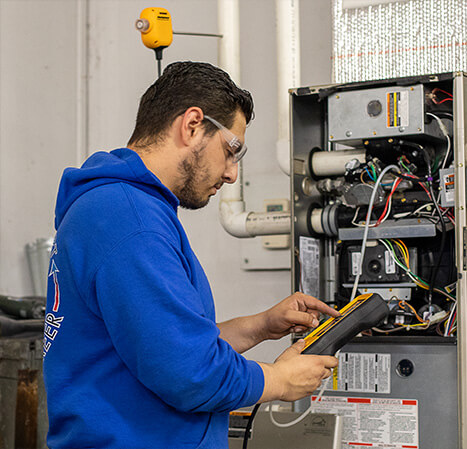
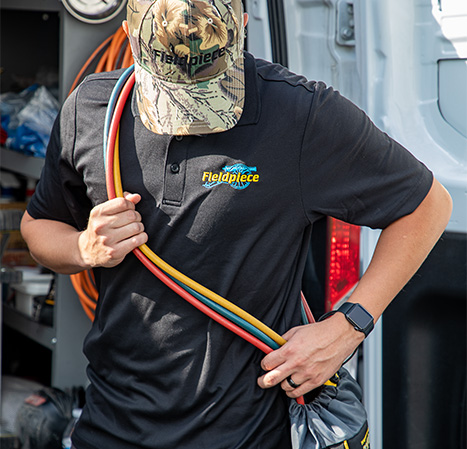
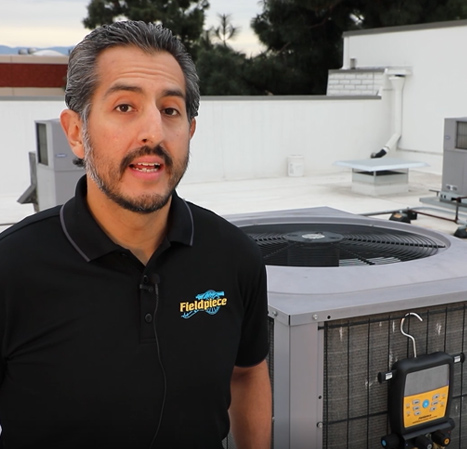
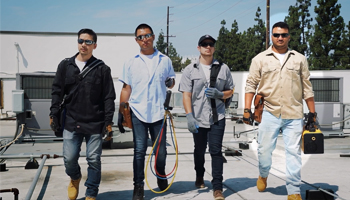
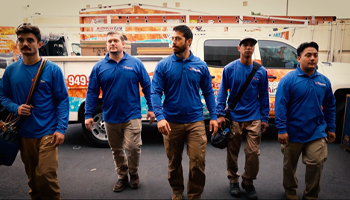
As an HVACR technician, you work hard every day – running diagnostics and servicing or repairing systems. You do a critical job, and in many ways are unsung heroes. Yours is a unique combination of technical understanding and skill, hands-on problem-solving, and customer service.
As an HVACR technician, you may work in heating, ventilation, air conditioning, and refrigeration; but you are not defined by that. You are defined by who you are at the core – hard-working, versatile, accurate, confident, and reliable.
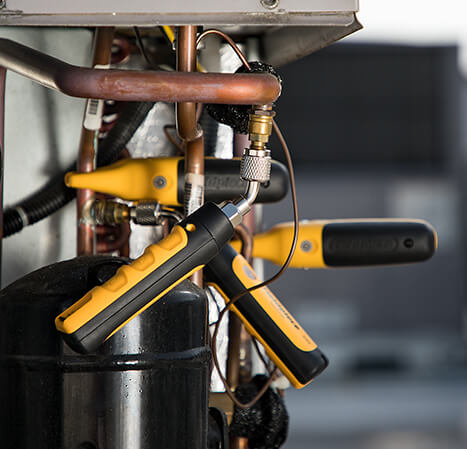
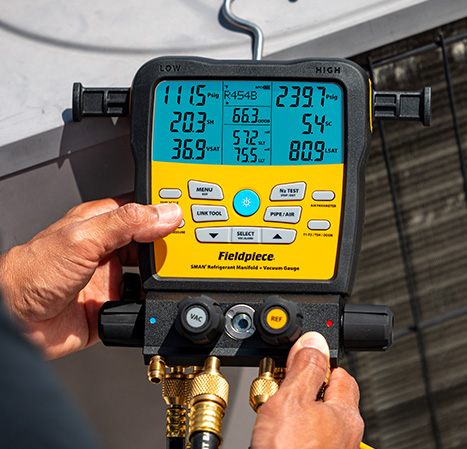
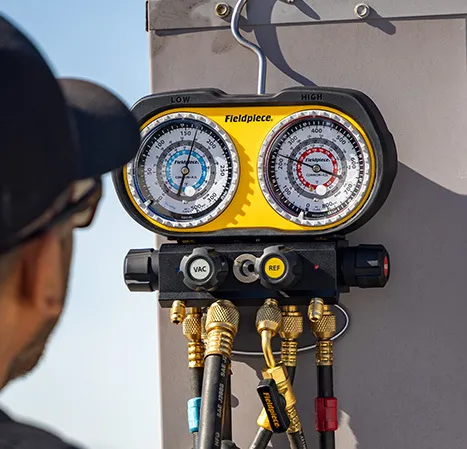
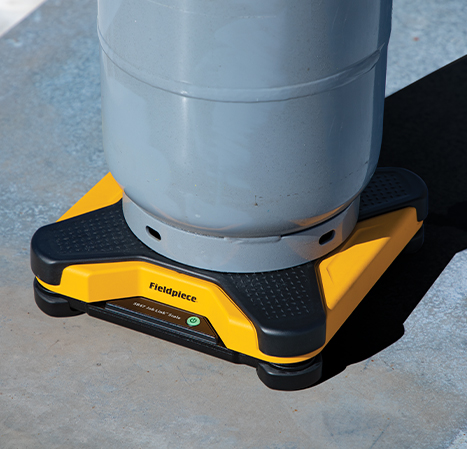
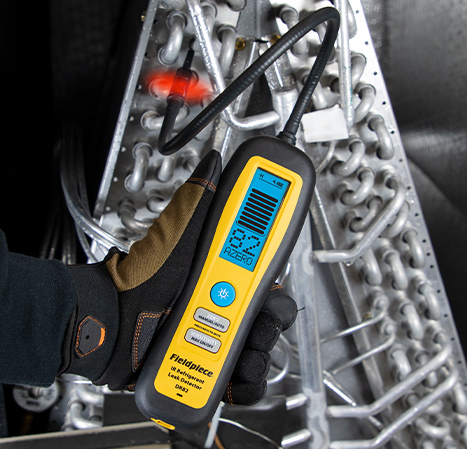
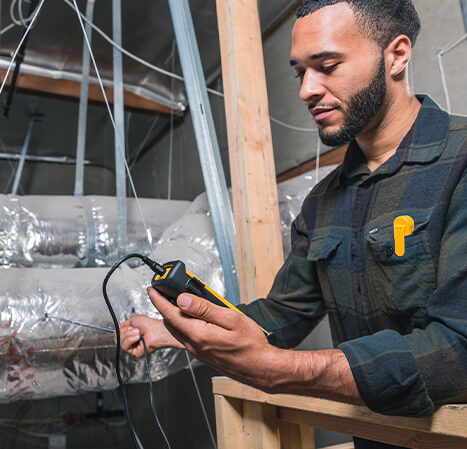
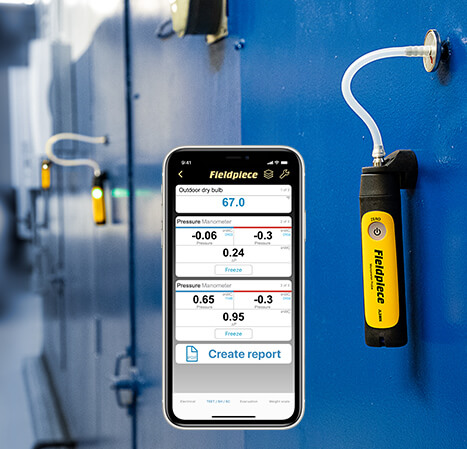
You withstand the physical rigors of the trade like creeping through crawlspaces and climbing up and down ladders, and you understand the intricate nuances involved in important jobs like re-routing restrictive ductwork, troubleshooting failing compressors, pulling a deep vacuum, and patiently searching for every tiny, refrigerant leak.
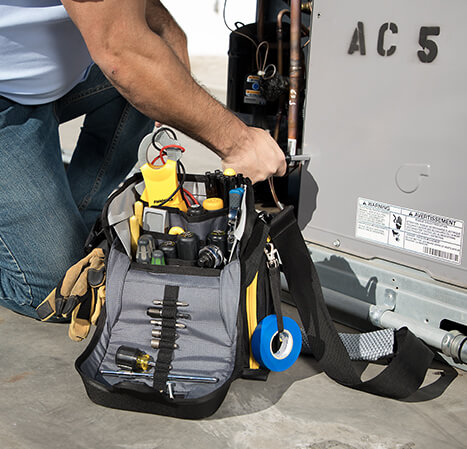
Let’s not forget about those late-night repair calls in the dead of winter you respond to without question; and thanks to techs like you, the fridge and freezer keep running through the heat of summer. Your dedication to long hours spent studying and practicing with the latest tools to ensure your skills stay current is unwavering. You always remain ahead of the innovation curve in an industry that changes every day. That’s how you stay true to the expert you are.
Thank you for not letting the broken blower fan win. Thank you for checking and then double-checking the CO levels from the furnace to ensure everyone’s safety. And thank you for keeping our houses warm in the winter, cool in the summer, and just plain cozy all year round.
The work sure isn’t easy, and the conditions are never great, but the result of your efforts are workspaces that function efficiently, restaurants that stay comfortable no matter how full they get, and homes where families gather to celebrate any time of year.
We continue to be impressed by your boundless capabilities, your consistent reliability, and your amazing versatility. You have one-of-a-kind skills, dedication, and a passion for helping others.
This holiday season, we should be reminded that our warm family gatherings are all made possible thanks to a hardworking, relentless, and talented HVACR technician.
Happy Thanksgiving!